


Hello there! Here we are with the first DIY tutorial by WEapulia. We really do like design decorative objects using recyclable materials without spending much money for what the DIY project needs. After all whoever chooses to do something himself loves creating with his own fantasy and his own hands getting amazing zero cost results. Doing something lovely and nice keeping the budget low gives enormous satisfaction to the designer! Today we’re explaining a DIY for doing paper flowers adaptable to different kind of purposes as your imagination figures it out! We chose to attack the flowers to dry branches kept in the countryside this autumn, making thus an original and impressive centerpiece for our dinner. What about the budget? Maybe € 0.50 that is the price of the hot glue refill, the only thing we bought for this posy.
Let’s start and follow the stages:
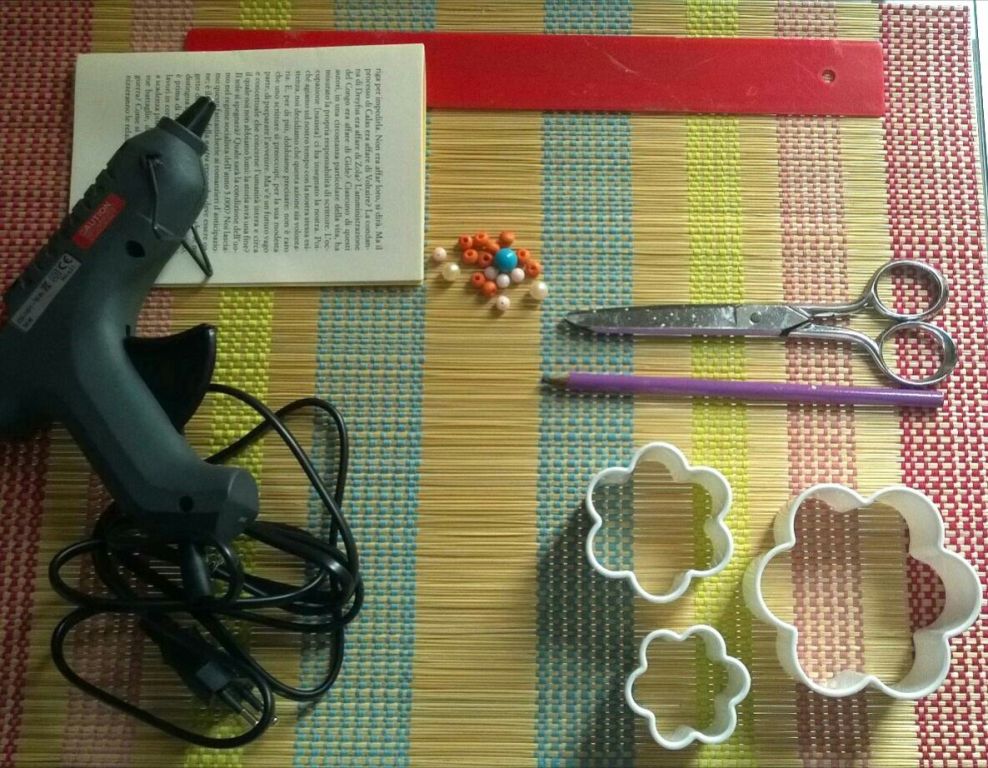
- Take all that you need: hot glue gun, pencil, paper sheet to recycle, flower shape cookies cutter, little pearl or little buttons or whatever you have with that size, scissors, ruler.
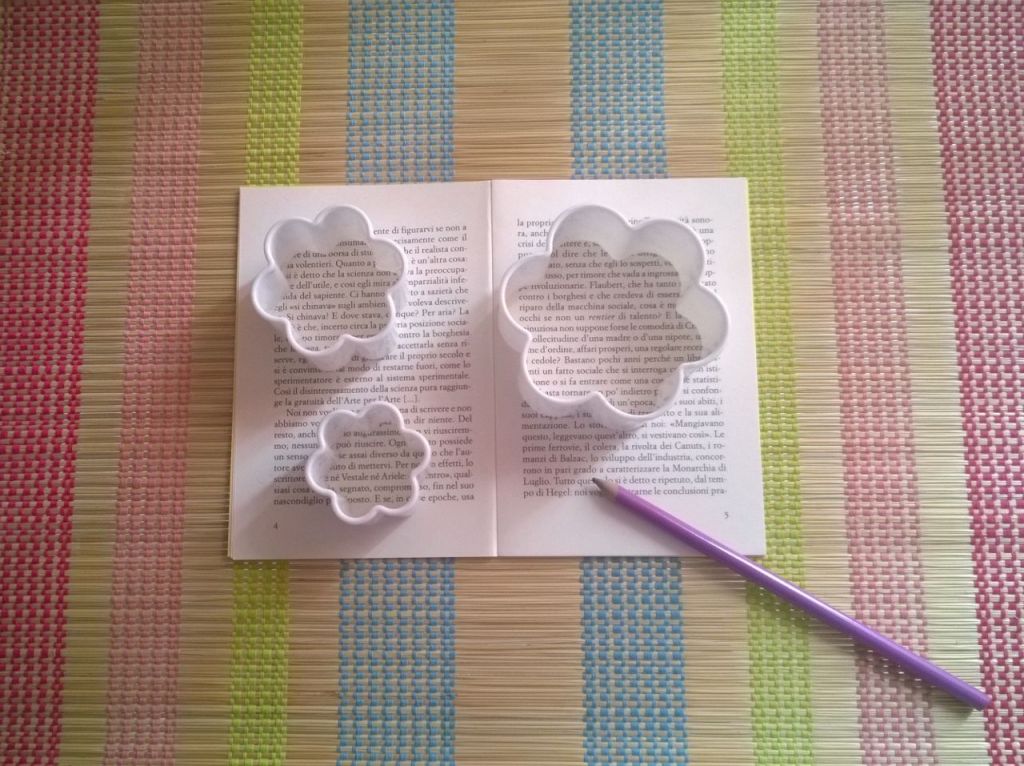
- Draw on the sheet the different size shapes of flowers using the cookies cutter
- Mark the diagonal lines from a petal to another on the back of the flower using the ruler.
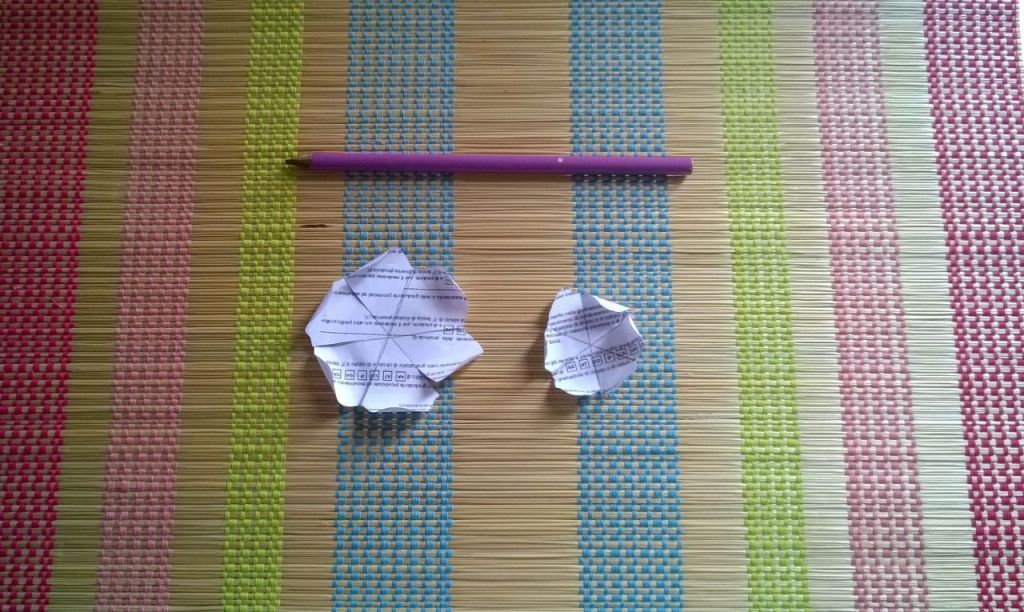
- Cut out the flowers and cut following the drawn diagonal stopping within one centimeter the center of the flower. After you’ve cut out the flowers, softly crumple them so they will look more natural and real.
- Take a pencil or a thin cane and use it to roll the far ends of the petals. Do not follow a precise template but do it casually so they will look real as much as possible.
- At the end put together two or three flowers of different sized and paste them in one flower putting a bit of glue in the middle. Then choose between pearls, buttons or rhinestones the one you prefer and paste it in the center of the flower as a pistil, it will make the flower well-refined and sparkling.
- The last thing you need to do is pasting with hot glue all the flowers to the branches you collected walking around in the countryside, in the mountain paths or in the city’s parks. We decided to paint branches white, but actually the row wooden effect is extremely classy as well.
Last September we set the table with the centerpiece during an outdoor dinner and we needed light on the table but of course if we had used candles, all our precious paper flowers would have been burnt so we linked battery Christmas white Lights together the branches and voilà it was a done deal! Our table was the most original and the brightest of ever (Surely the cheapest, that’s the biggest satisfaction!). Please find at the top of this post several pictures showing all the stages. Leave us your comments and send us pictures of your DIY! You can post pictures on WEapulia Facebook Fanpage or on WEapulia Pinterest board, or if you prefer post them on Instagram at #WEapulia. We’re sooooo inquiring to see how everyone will have personalized the suggestion we gave. See you soon!
Comments